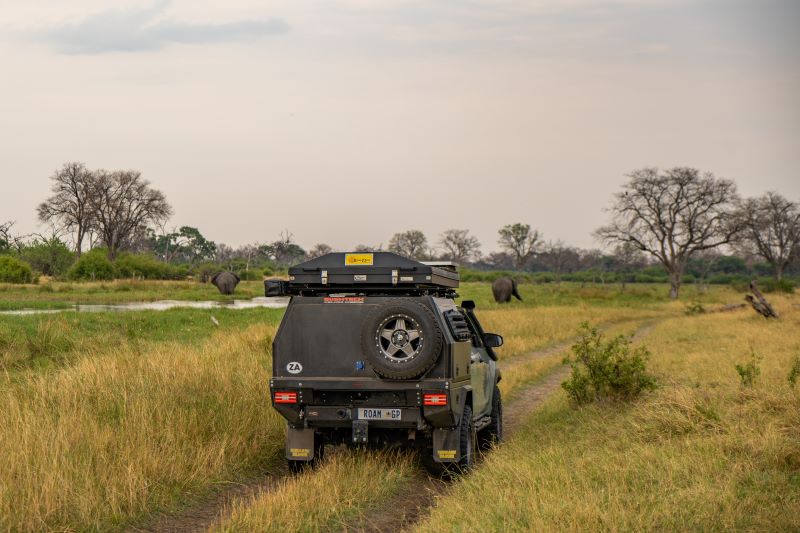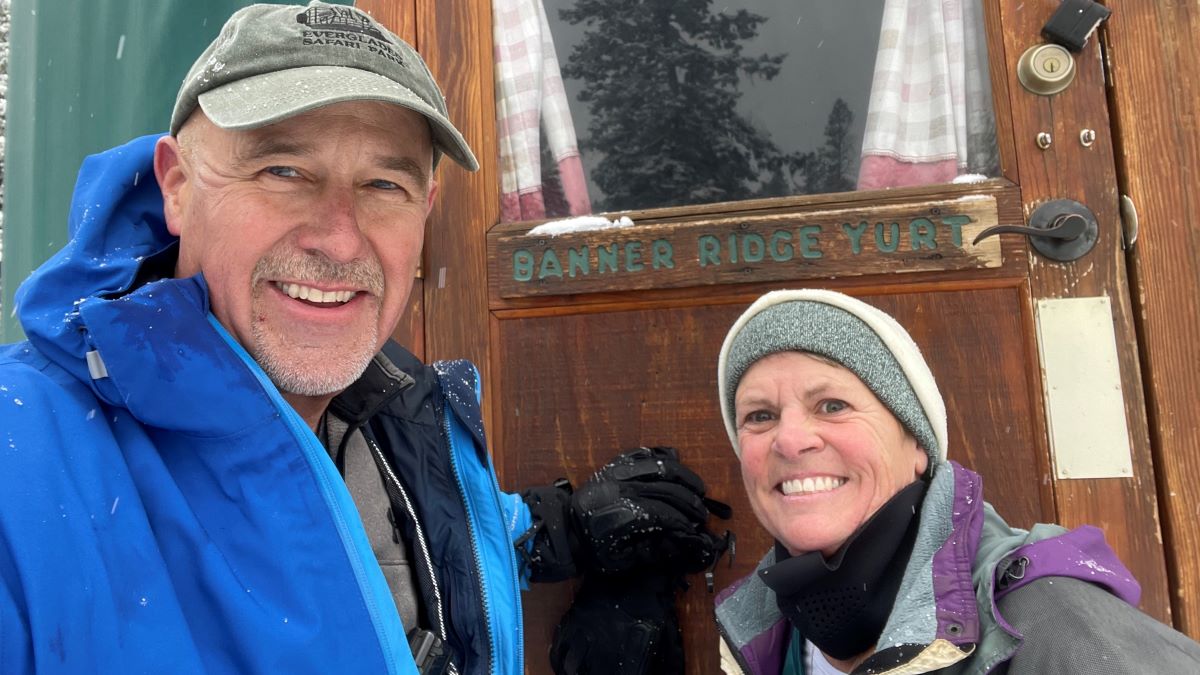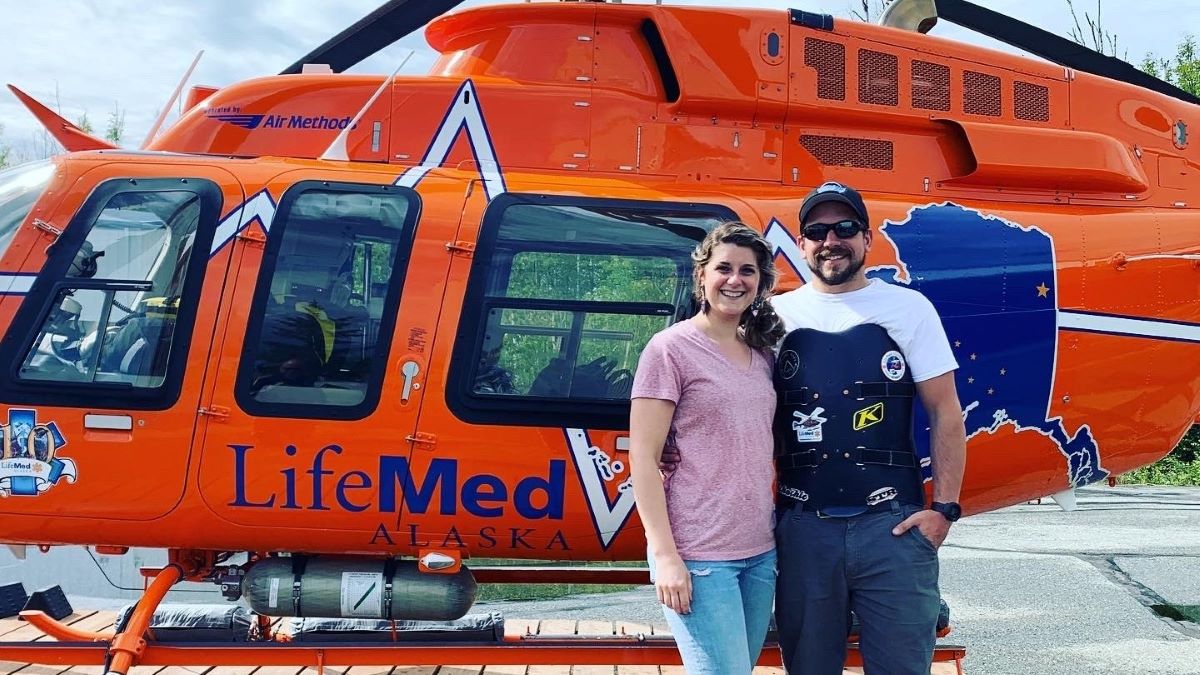
Couple Saved: The Power of Kindness and inReach®
March 21, 2024
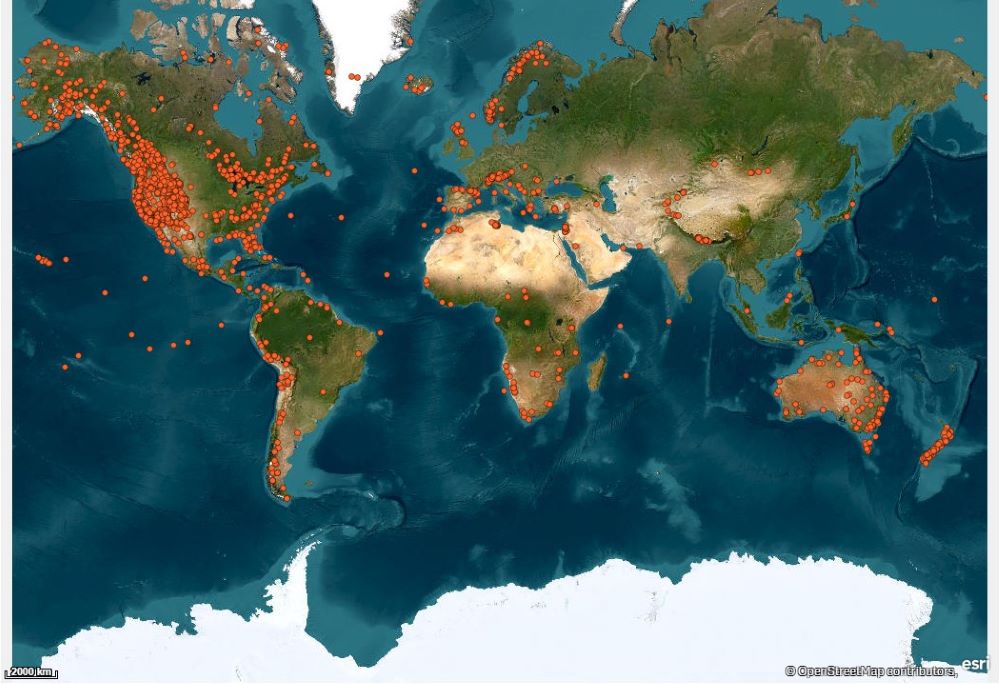
2023 Garmin inReach® SOS Year in Review
February 29, 2024
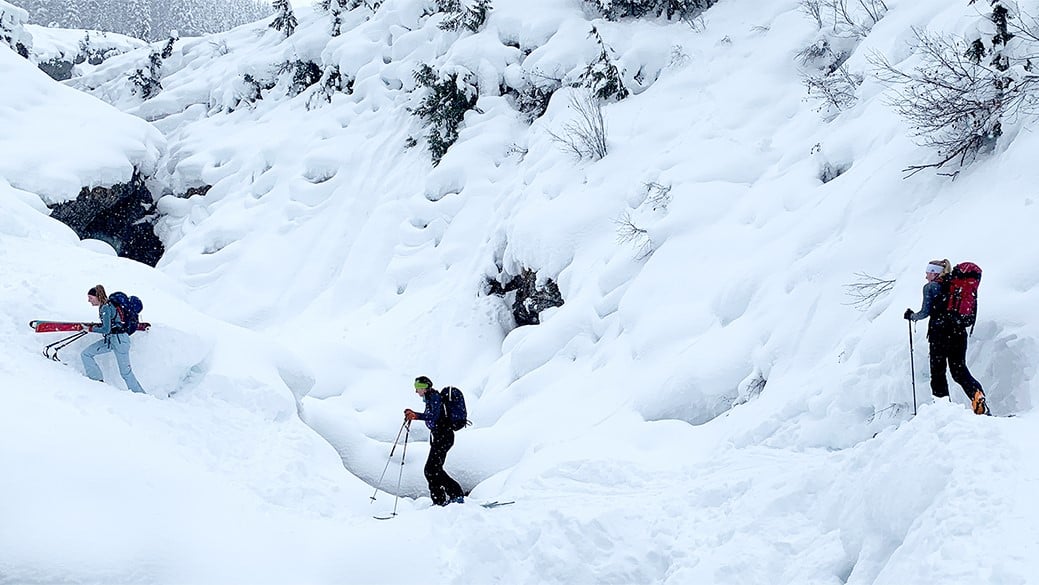
Friend Convinced to Take inReach on Day of Avalanche Disaster
January 24, 2024
One Year, One inReach User, Two Lives Saved
December 11, 2023
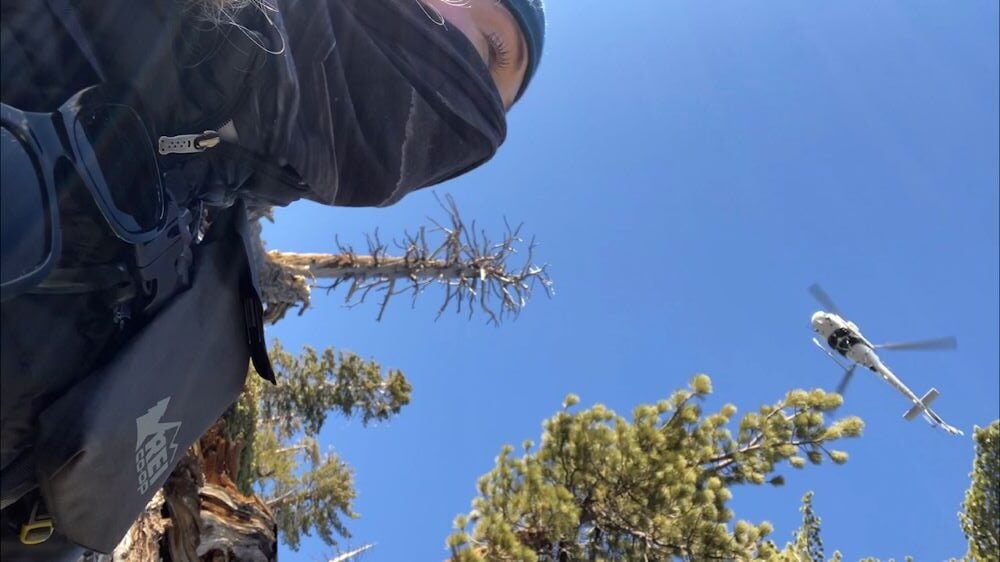
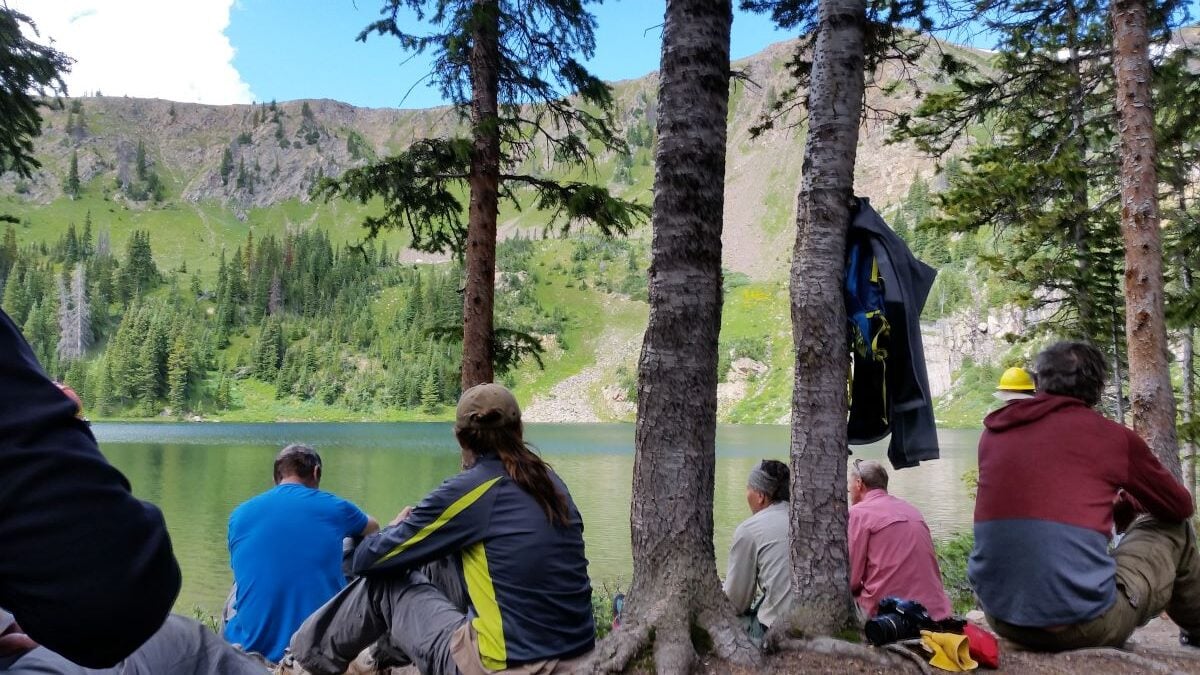
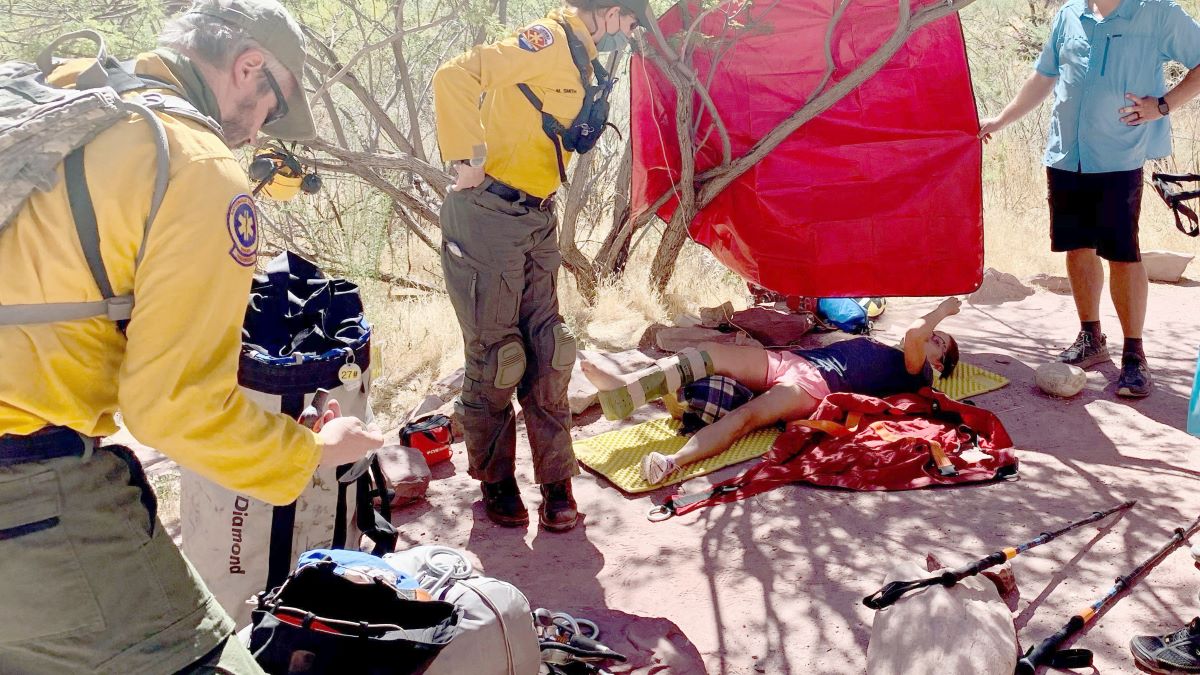
A Friend’s Rescue: Surviving a Fall Down Mount Baldy
September 1, 2023
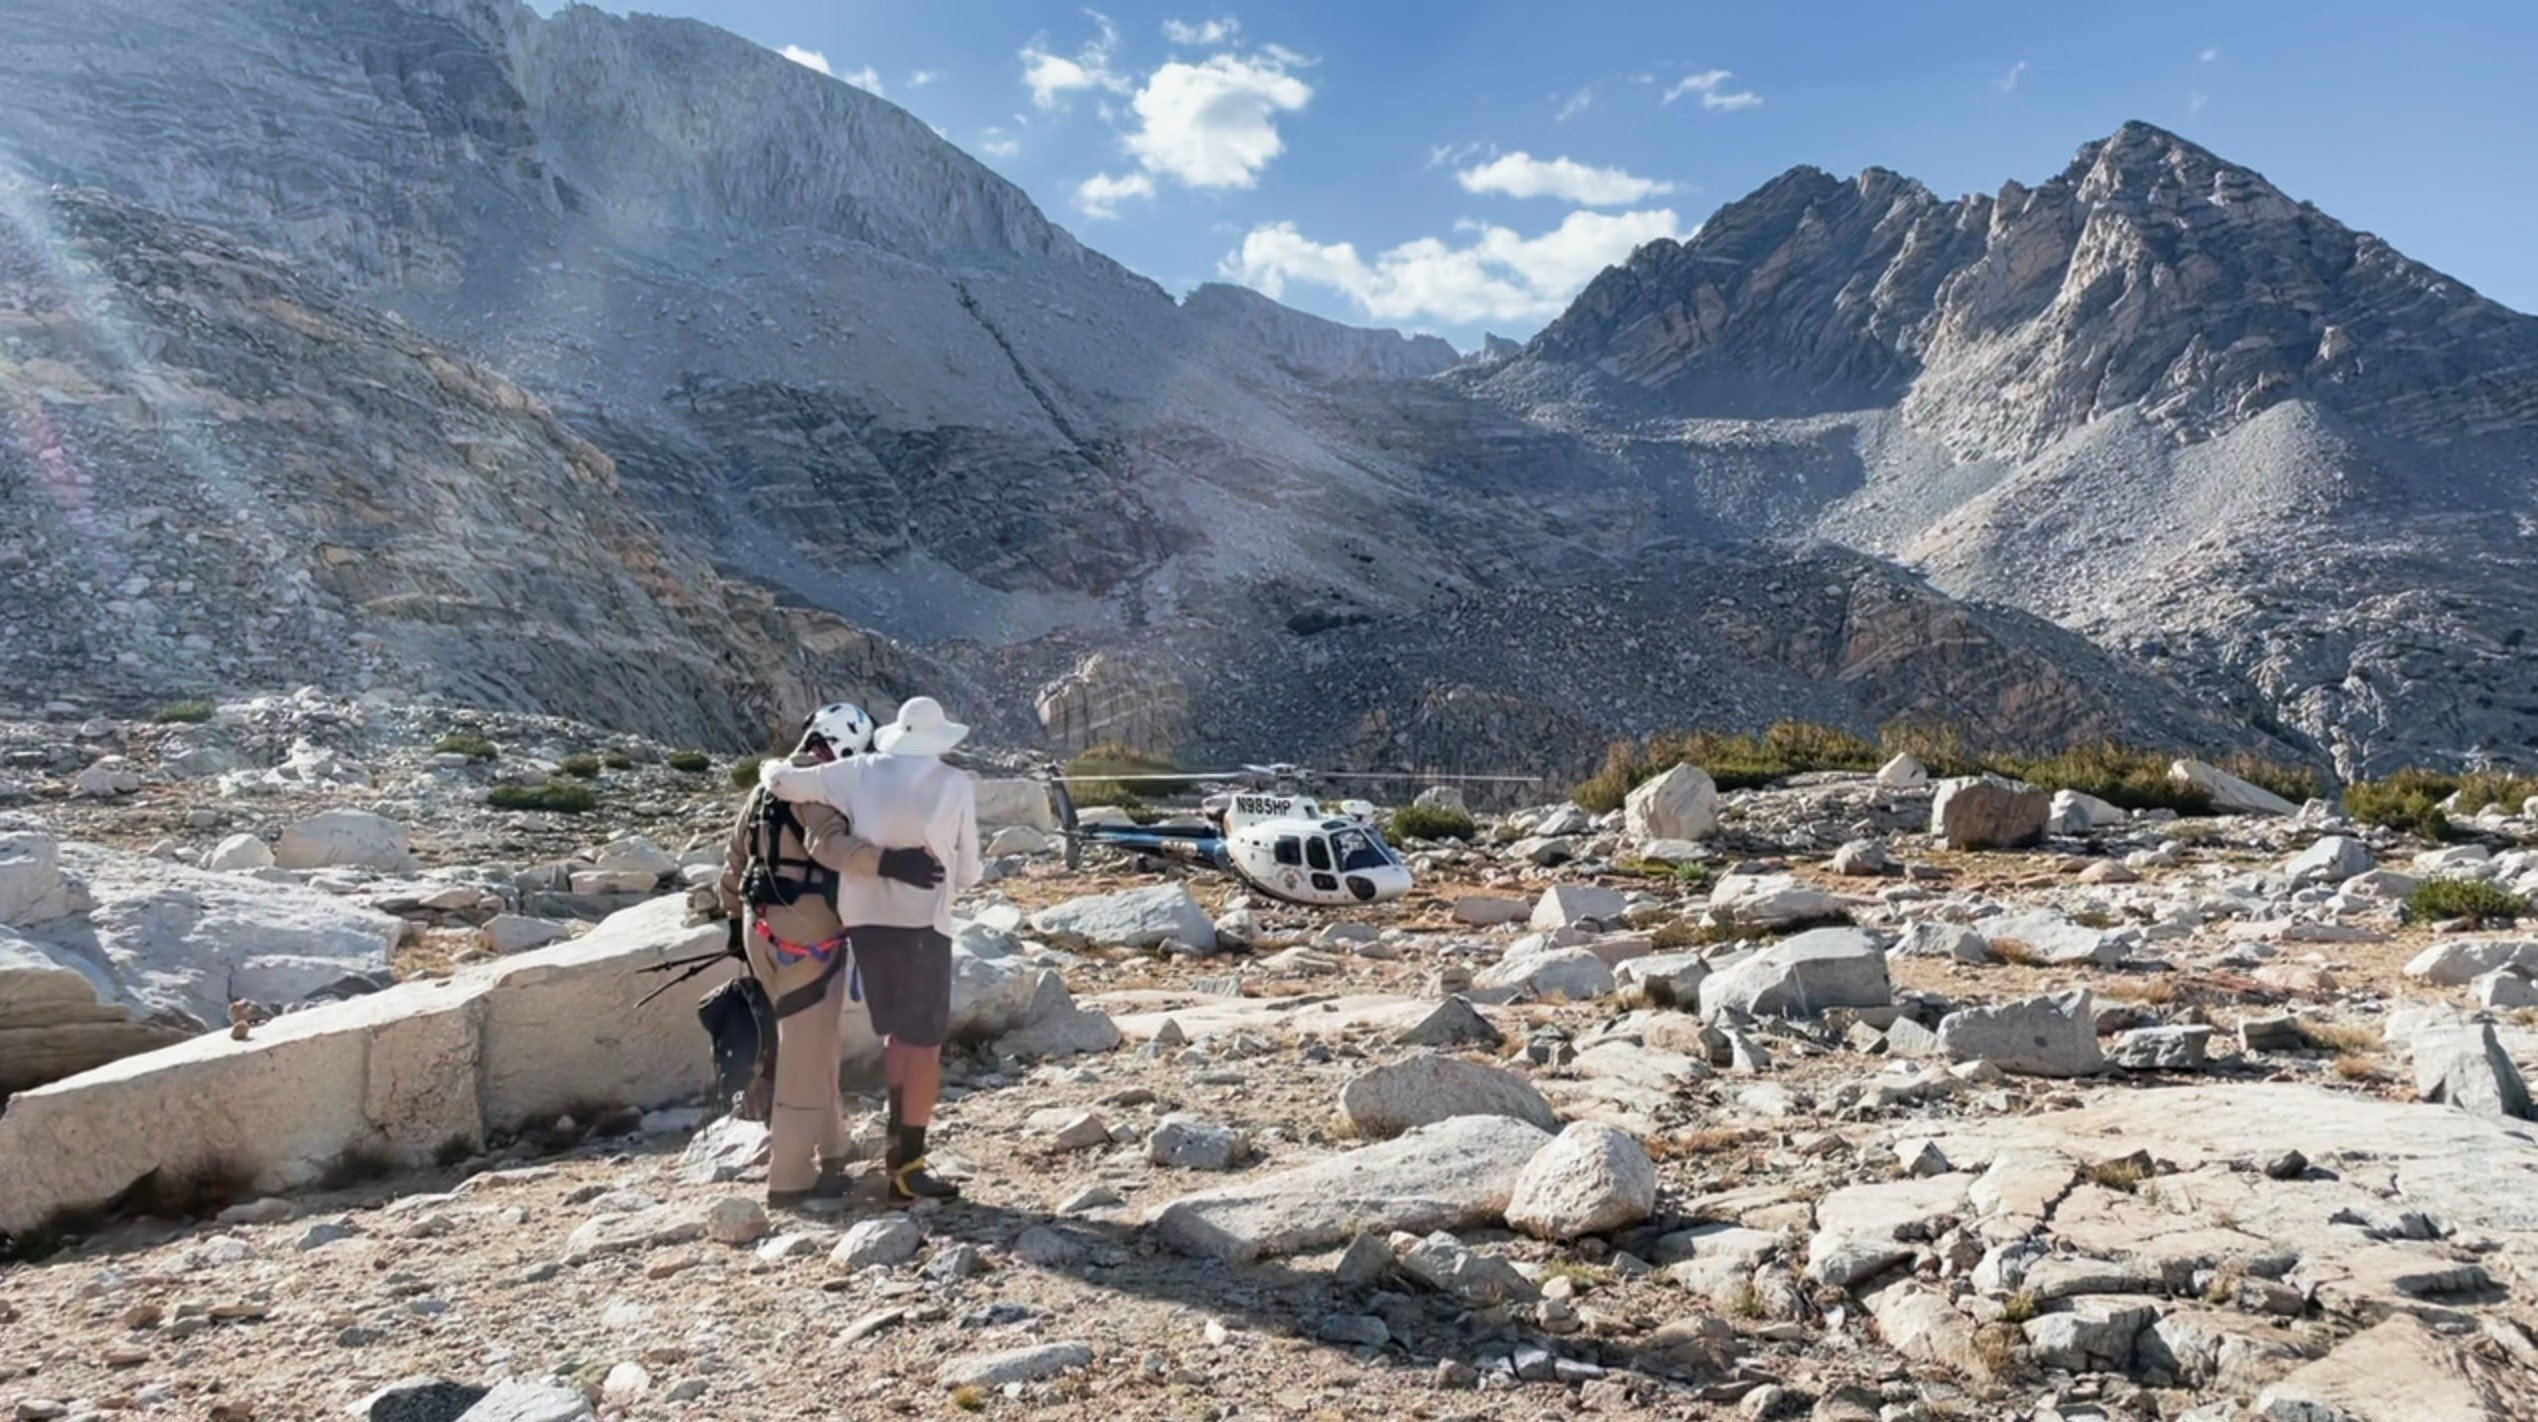
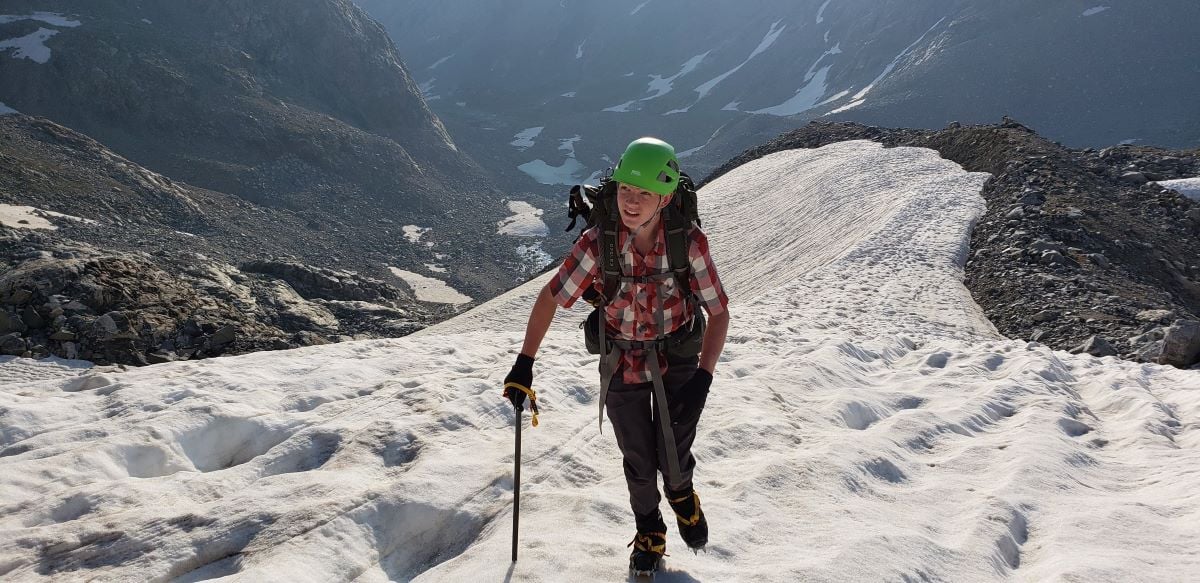
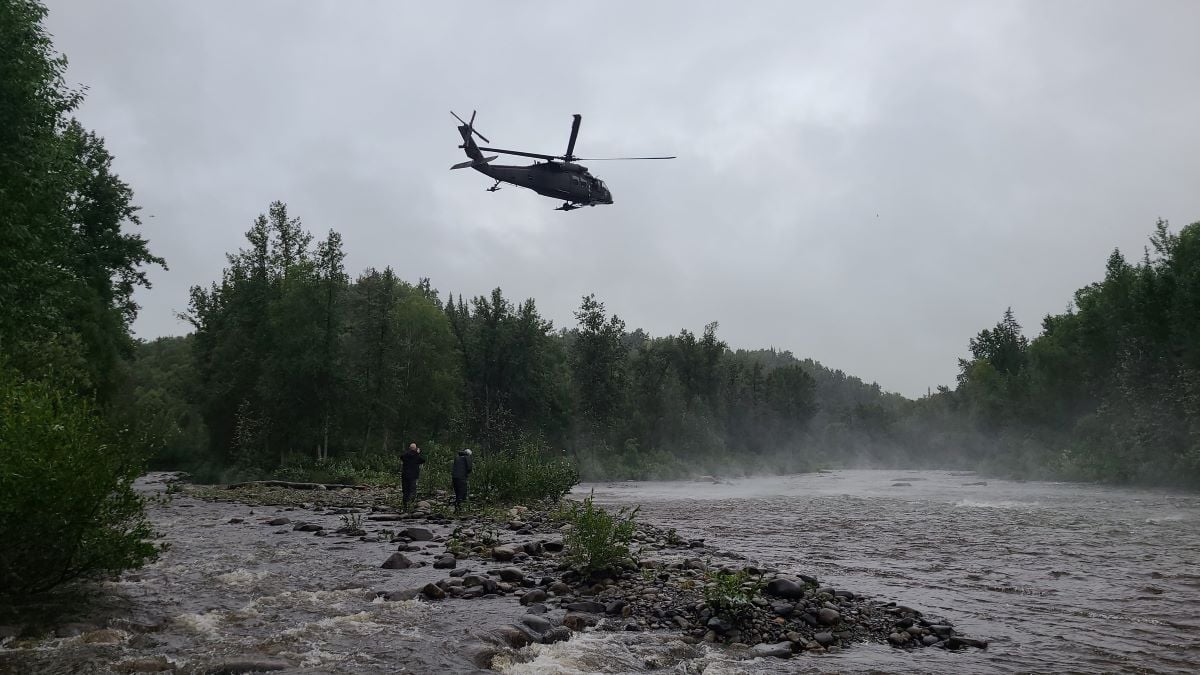
16-year-old Coordinates Rescue After Dad Falls into Crevasse
July 13, 2023
5 Real-life inReach Experiences: Extreme Weather
June 5, 2023
-
Marine
-
Outdoor
-
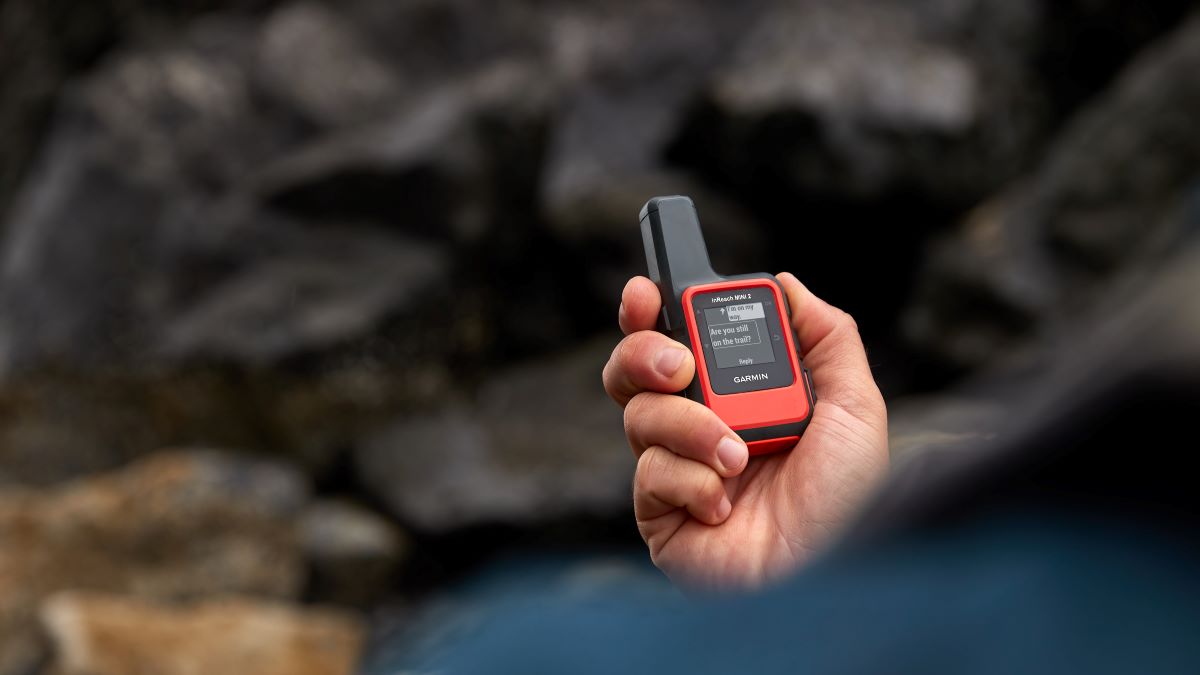
Saved by Garmin
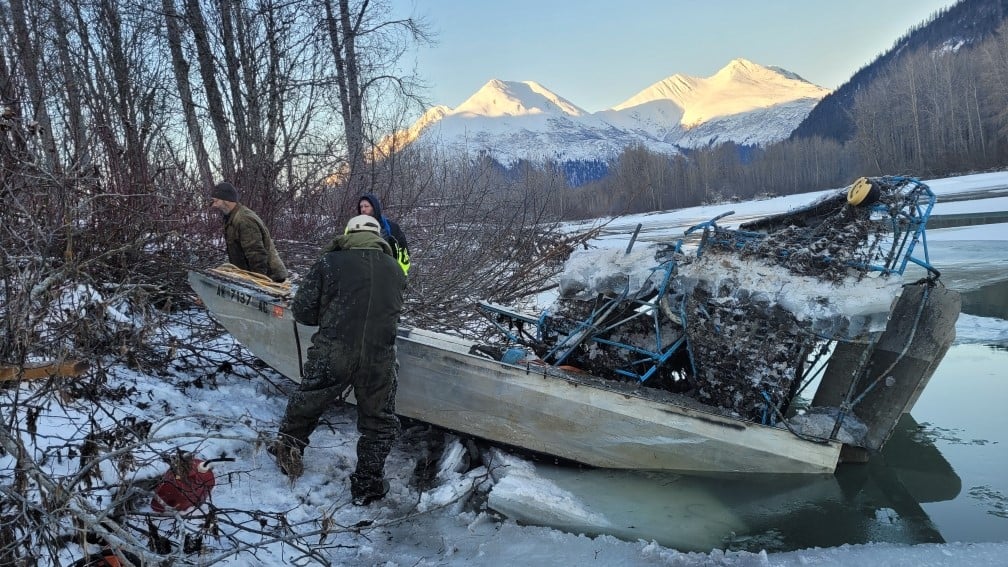
Father Recovers inReach From Sinking Boat to Help Save Daughter
May 3, 2023
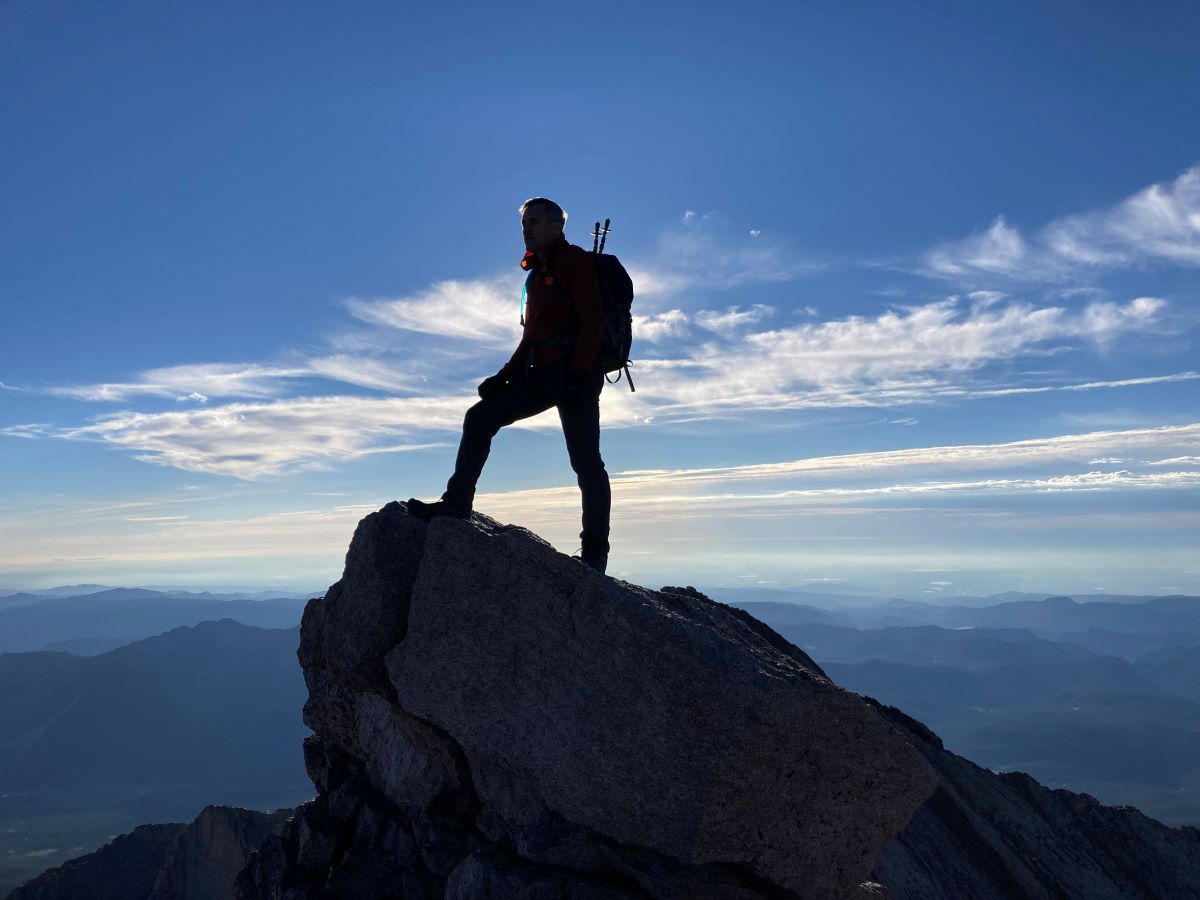
Story of Survival: Mountaineer Trapped on a Ledge for 6 Hours
April 19, 2023
-
Automotive
-
Outdoor
-
Saved by Garmin
How They Got Out: Couple Stranded by an Avalanche While Driving
March 15, 2023
Helping to Save a Life: Rapid Onset of High-altitude Pulmonary Edema
February 22, 2023
The 10,000th inReach SOS: A Foot in the Wrong Direction
December 19, 2022
Headlamp SOS Leads to Rescue of Injured Climber on Mount Rainier
November 29, 2022
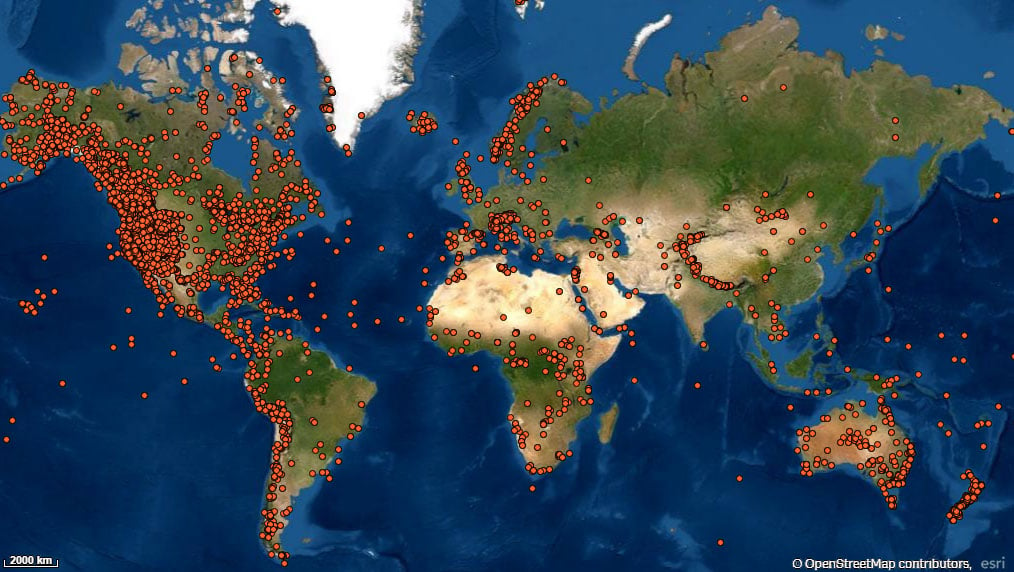
Data Insights from 10,000 Garmin inReach® SOS Incidents
October 24, 2022
Garmin Smartwatch Alerts Pilot to Decreasing Cabin Pressure
September 29, 2022
Garmin Emergency Response Center and inReach® Help Reunite Lost Child with Parent
August 12, 2022
Group Helps Save Woman Bit by Rattlesnake on Hiking Trip
August 4, 2022
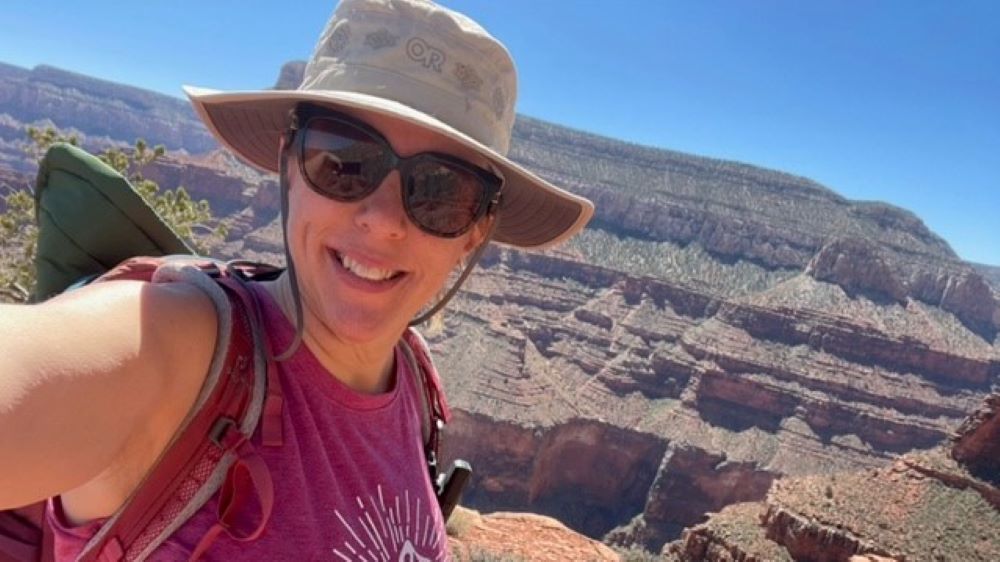
Woman Uses inReach® to Evacuate Sick Hiker From Grand Canyon
June 24, 2022
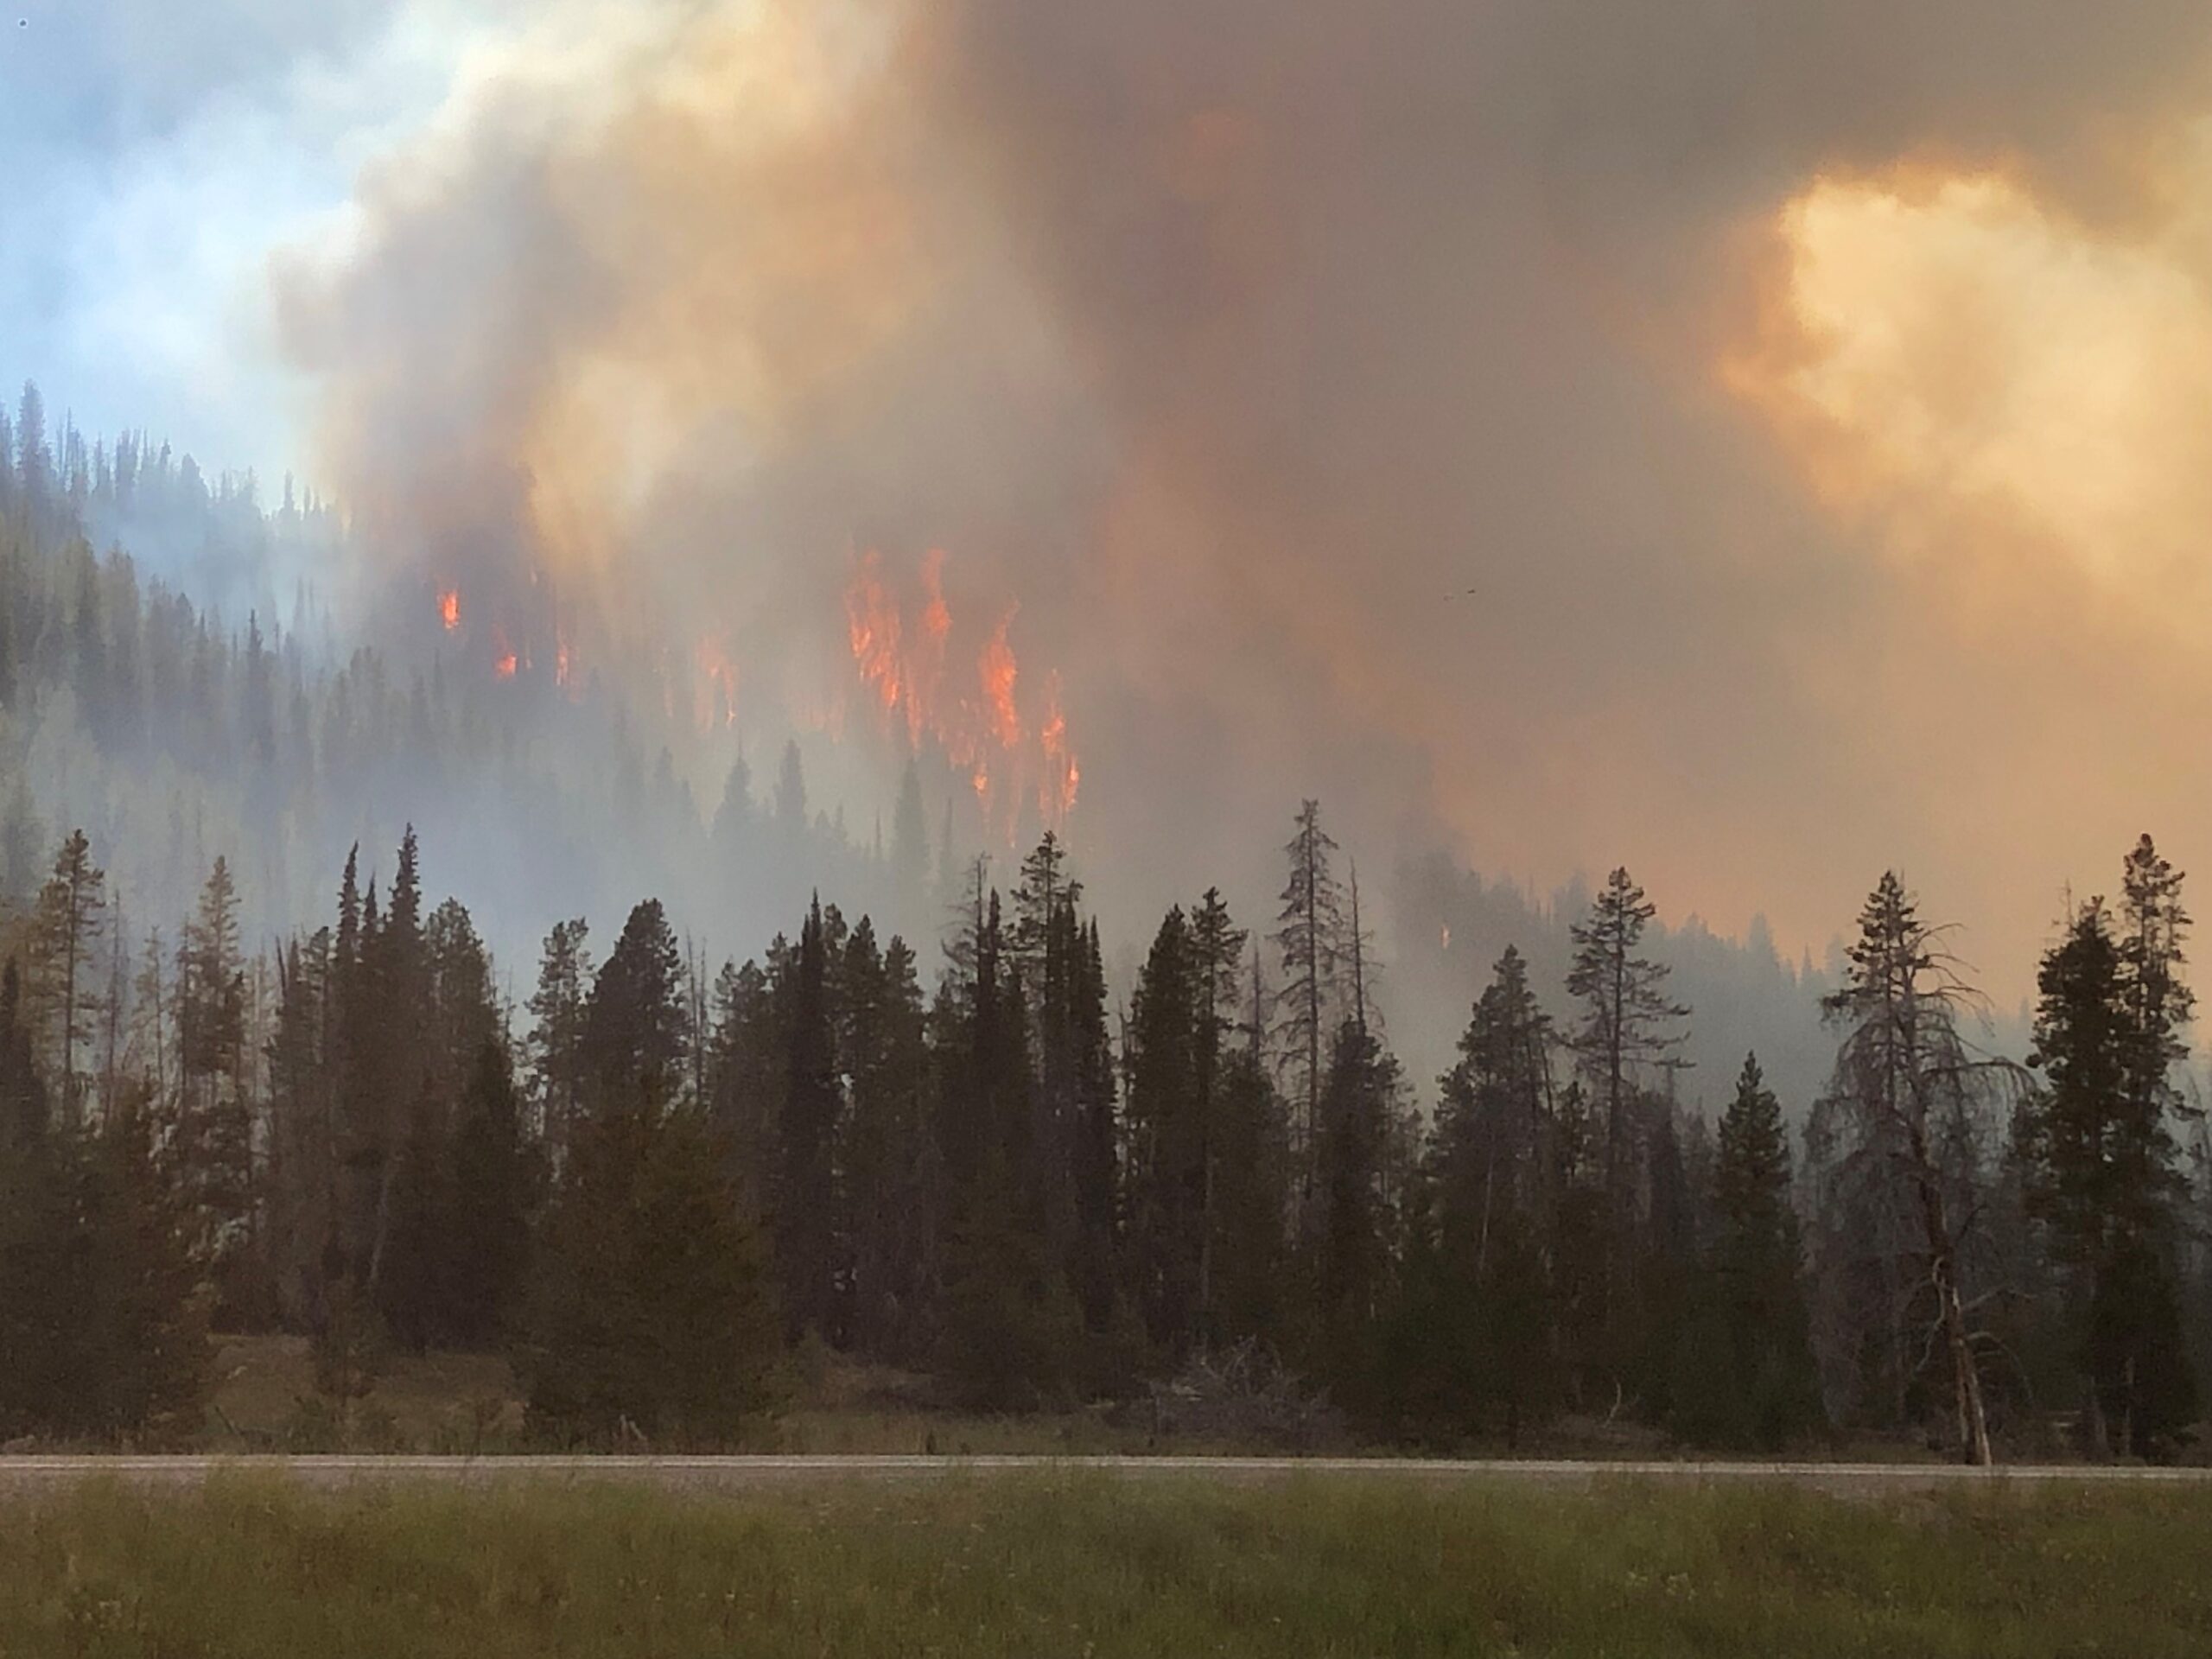
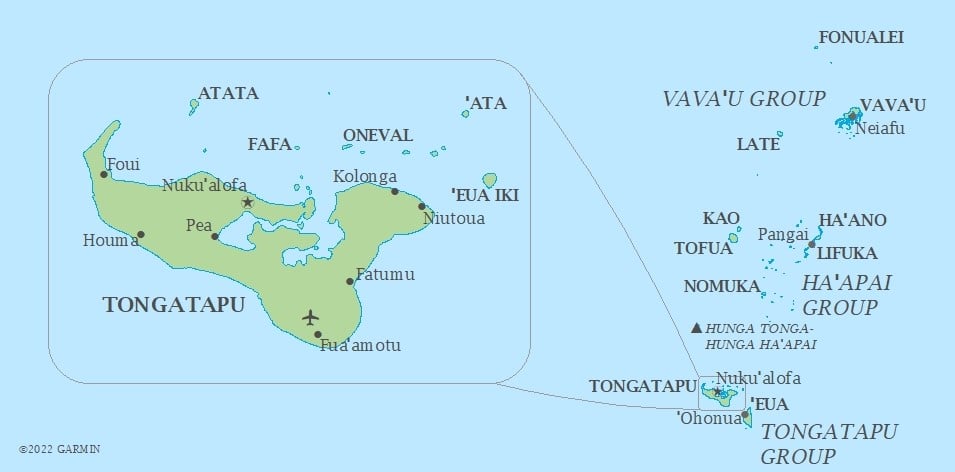
After Devastating Volcano Eruption, inReach® Devices Provide Critical Communication
April 26, 2022
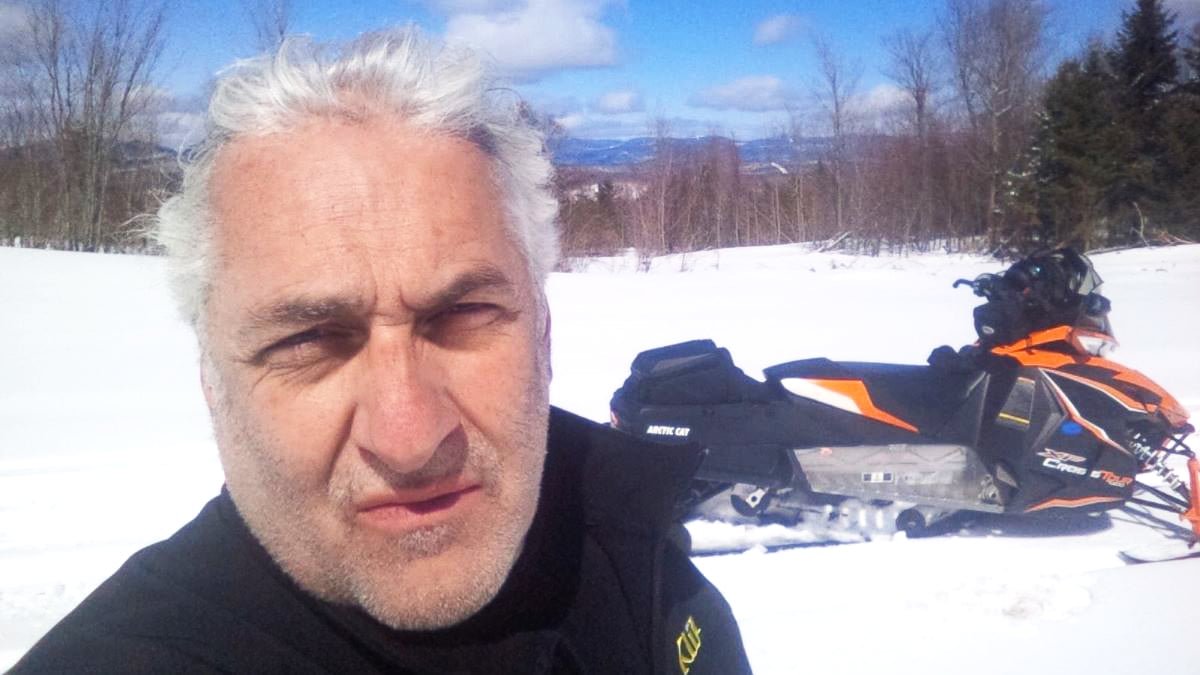
Snowmobiler Caught in Snowstorm Uses inReach® for Rescue
March 23, 2022
-
Fish and Hunt
-
Outdoor
-
Saved by Garmin
SOS: Snowmobiler Seriously Injured After Fall Off Ledge
March 20, 2022
Lessons Learned From a Backcountry Skiing Helicopter Rescue
March 2, 2022
SOS: A Wedding Anniversary Trip Gone Wrong
February 16, 2022
Son Helps Save 75-year-old Father After Rafting Accident
November 4, 2021